
with the WafaiCloud PaaS intuitive UI, you can quickly deploy your applications to the cloud platform without a necessity to perform any complex configurations.
This guide shows some of the basic steps required to get started with the platform:- sign up
- deploy application
Sign Up: How to Create an Account
- particular platform dashboard
After sign up, you will receive a confirmation email, so just follow the provided instructions (additional verification via captcha or SMS may be required).
Platform Dashboard
Access particular platform via hoster domain.
1. Expand the menu at the bottom-left corner and select the Signup option.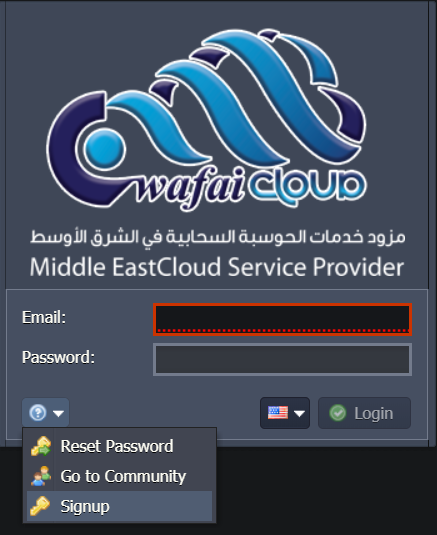
2. Provide your Email in the appeared form.
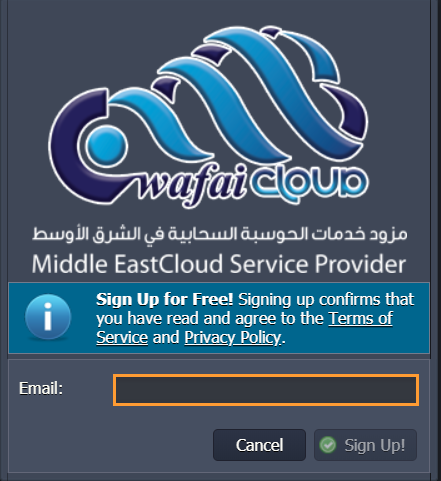
Click the Sign Up! button to agree to the terms of use and privacy policy of the provider.
That’s it, WafaiCloud PaaS will automatically send the confirmation email to you.Deploy Application
- automatic deployment from application Marketplace
- manual deployment via dashboard
Application Marketplace
You can access WafaiCloud Marketplace directly from the dashboard to install various popular solutions in one click.
1. Click the Marketplace button at the top of the dashboard.2. Find the required solution within the categorised list to the left or using the search field at the top.

Hover over the application plank and click the Install button.
3. Configure installation preferences (e.g. environment name, alias, region, etc) and click Install one more time.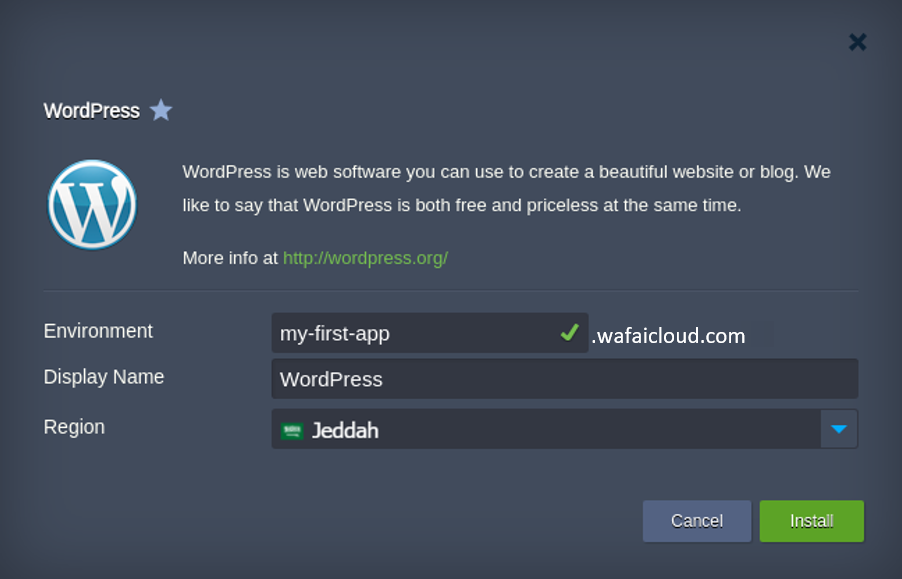
All the further steps will be performed automatically by the platform, i.e. an environment with the required topology creation, the appropriate application deployment, the required dependencies installation, connections (e.g. with a database) and configs setting.
So, in just a few minutes, you’ll get ready-to-work application.Manual Deployment
In case you want to deploy any custom application and manually control the deployment process on each particular stage, follow the next steps:
1. Click the New Environment button in the upper-left corner of the dashboard.2. The Topology Wizard will be opened, where you can set up your environment. Among the central platform features configurable via this form, there are:
- multiple programming languages support (Java, PHP, Ruby, Python, Node.js, .NET, Go) and custom Docker containers integration
- wide list of managed software stacks
- automatic vertical scaling to ensure fair pricing and horizontal scaling to provide flexibility and reliability
- Public IP attachment for direct access from the Internet
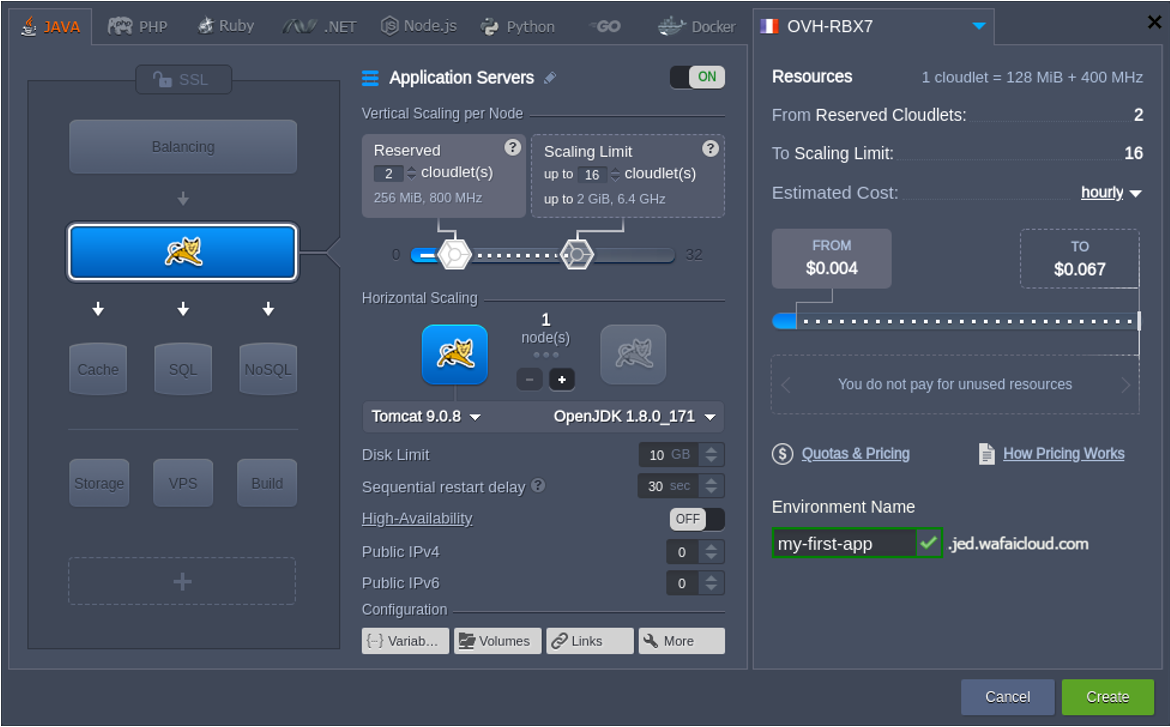
For now, let’s Create just a single Tomcat application server.
3. In a minute, your environment will appear on the dashboard.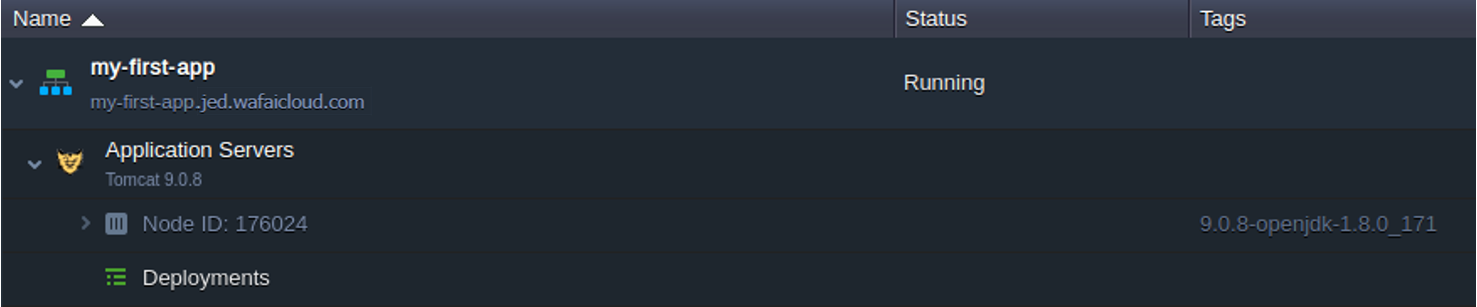
4. WafaiCloud supports multiple ways of automatic application deployment so that you can select the most suitable option. For this example, we’ll show the deployment of a default Hello World application from the archive in the deployment manager (located at the bottom of the dashboard).

Hover over the project and click the Deploy to button.
5. Within the opened Deploy frame, just select your Environment and proceed with the Deploy button.
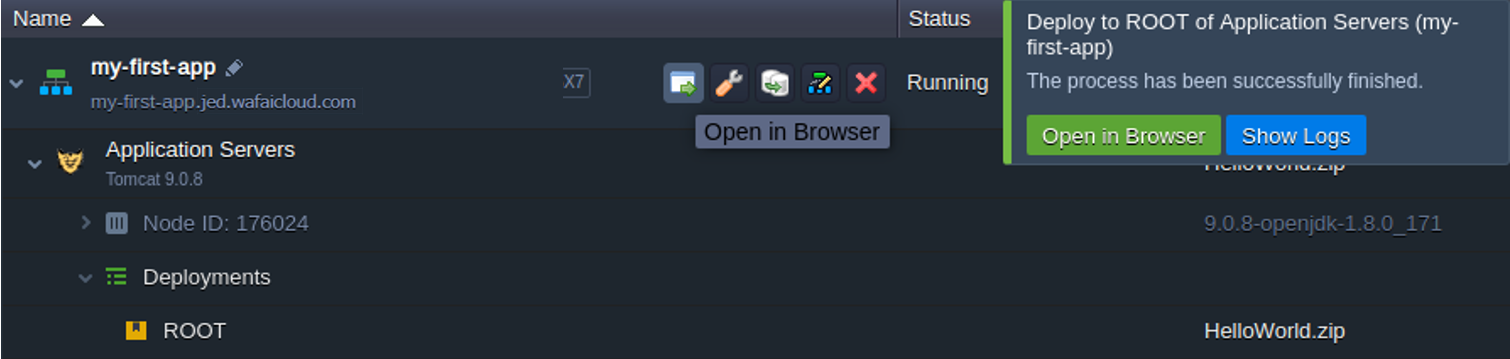
6. Wait for the successful deployment pop-up and click Open in Browser to ensure everything works fine.
Herewith, if your application requires some additional settings or don’t have a web interface, do not hesitate to use various in-build configuration tools.
That's all! Enjoy using WafaiCloud PaaS!